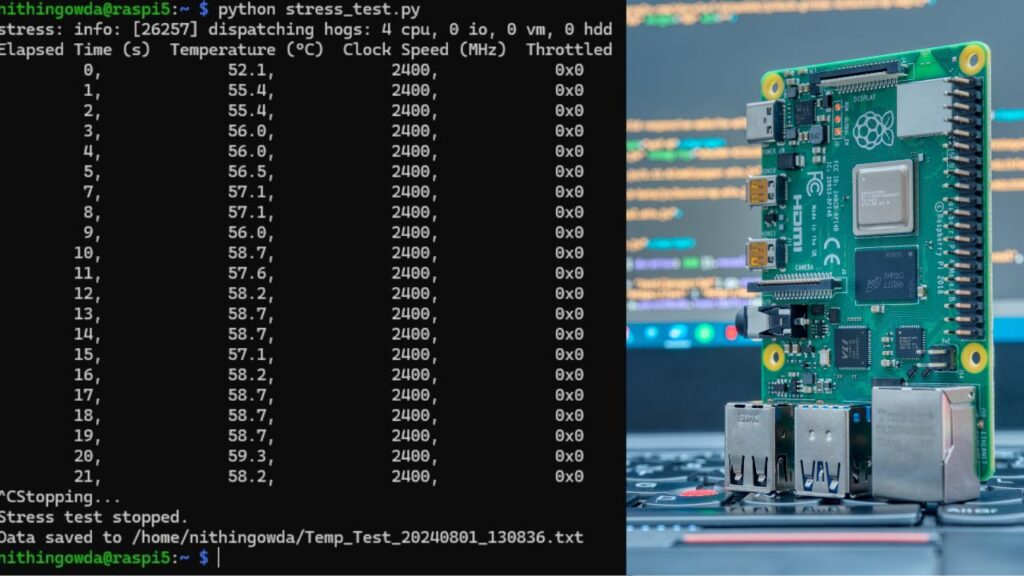
Raspberry Pi is a versatile, low-cost computer that can handle a variety of tasks. However, to ensure that it performs well under heavy loads and operates within safe temperature limits, it’s crucial to stress test it and monitor its temperature. This article guides you through the process of stress testing a Raspberry Pi and monitoring its temperature.
1. Introduction
Stress testing is a method to push a system to its limits to ensure it can handle maximum loads without failing. For a Raspberry Pi, stress testing can reveal how it performs under high CPU usage and help identify potential overheating issues. Monitoring the temperature is crucial as excessive heat can throttle performance or even damage the hardware.
2. Preparing Your Raspberry Pi
Before starting the stress test, ensure your Raspberry Pi is set up and connected to a power source. You should have a stable operating system, such as Raspberry Pi OS, installed and updated. Also, ensure you have access to a terminal or SSH for running commands.
3. Installing Stress Testing Tools
To stress test your Raspberry Pi, you need a tool that can create a heavy CPU load. One popular tool is stress, which can be installed from the Raspberry Pi repository.
Step-by-Step Installation:
1.Update your package list:
sudo apt update2.Install the stress package:
sudo apt install stress
3. Writing a Stress Testing Script
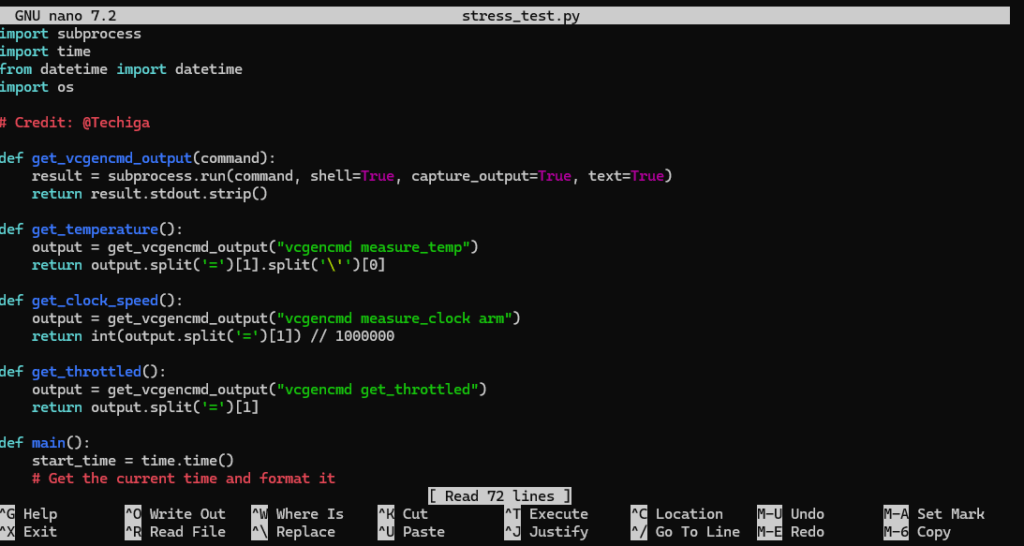
A simple way to stress test and monitor your Raspberry Pi is to use a Python script. This script will: Start a stress test. Monitor CPU temperature and clock speed. Log the results to a file. 1. Start a stress test 2. Monitor CPU temperature and clock speed 3. Log the results to a file.
4.Creating the Python Script:
- Open the terminal and create a new Python script file using
nano: - Paste the following code into the file:
- Save the file by pressing
CTRL + X, thenY, andEnter.
sudo nano stress_test.pyimport subprocess
import time
from datetime import datetime
import os
# Credit: @Techiga
def get_vcgencmd_output(command):
result = subprocess.run(command, shell=True, capture_output=True, text=True)
return result.stdout.strip()
def get_temperature():
output = get_vcgencmd_output("vcgencmd measure_temp")
return output.split('=')[1].split('\'')[0]
def get_clock_speed():
output = get_vcgencmd_output("vcgencmd measure_clock arm")
return int(output.split('=')[1]) // 1000000
def get_throttled():
output = get_vcgencmd_output("vcgencmd get_throttled")
return output.split('=')[1]
def main():
start_time = time.time()
# Get the current time and format it
current_time = datetime.now().strftime("%Y%m%d_%H%M%S")
readable_time = datetime.now().strftime("%Y-%m-%d %H:%M:%S")
# Define the directory path
base_path = os.path.expanduser("~/") # Set base_path to the user's home directory
# Define the filename
filename = f"{base_path}Temp_Test_{current_time}.txt"
# Start the stress test
stress_process = subprocess.Popen(["stress", "--cpu", "4"])
# Wait for a few seconds before printing the header
time.sleep(0.3) # Adjust the duration as needed
with open(filename, "a+") as fb:
# Write header to file
header = "Elapsed Time (s) Temperature (°C) Clock Speed (MHz) Throttled\n"
fb.write(f"Date and Time: {readable_time}\n")
fb.write(header)
# Print and write header to console for clarity
print(header, end='')
try:
while True:
elapsed_time = time.time() - start_time
temp = get_temperature()
clock = get_clock_speed()
throttled = get_throttled()
# Format the data string with padding for alignment
data_string = f"{elapsed_time:>10.0f}, {temp:>16}, {clock:>15}, {throttled:>14}\n"
print(data_string, end='')
fb.write(data_string)
time.sleep(1)
except KeyboardInterrupt:
print("Stopping...")
finally:
stress_process.terminate()
stress_process.wait()
print("Stress test stopped.")
print(f"Data saved to {filename}")
if __name__ == '__main__':
main()

5. Running the Script
To start the stress test and monitor your Raspberry Pi’s temperature:
Run the Python scprit:
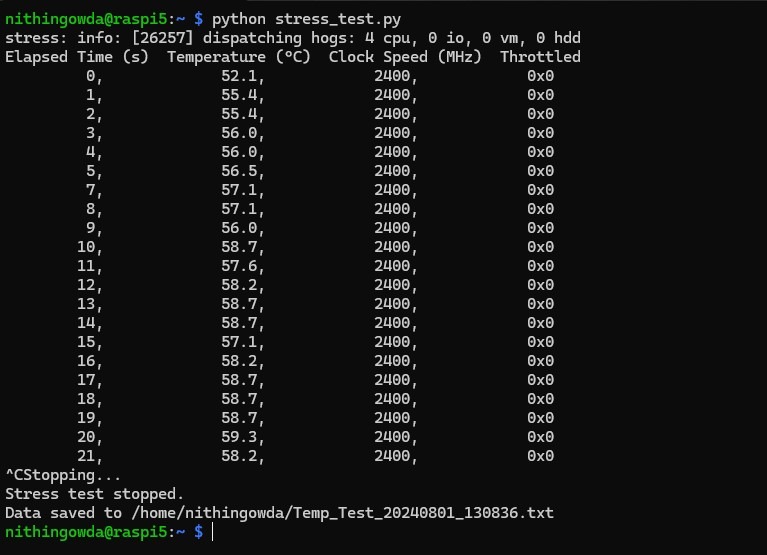
python stress_test.py
This script will run the stress test, monitor the temperature, clock speed, and throttling state, and log the results to a file. The script also prints the results in real-time to the terminal.
6. Interpreting the Results

- Elapsed Time (s): Shows how long the stress test has been running.
- Temperature (°C): Indicates the CPU temperature. Keep an eye on this to ensure it doesn’t exceed safe operating limits (generally around 85°C).
- Clock Speed (MHz): Displays the current CPU clock speed.
- Throttled: Shows whether the CPU is being throttled due to high temperatures.
7. Conclusion
Stress testing and monitoring are essential to ensure your Raspberry Pi can handle heavy loads and operate safely. By following these steps, you can effectively stress test your Raspberry Pi and keep track of its temperature and performance. Regular testing can help you prevent overheating issues and ensure the longevity of your Raspberry Pi.
