Hi Friends! In this article, I’m going to explain how to create your own VPN server. If you’re using a free VPN, the IP address is often shared with thousands of users, and even with paid VPN services, the IP address is usually shared with hundreds. VPN stands for Virtual Private Network, but there’s nothing truly “private” when you’re sharing the same IP with so many people. Plus, sharing an IP address increases the risk of that IP getting blacklisted, which could affect important accounts like AdSense, PayPal, and more. That’s why I’m here to show you how to set up your own VPN server with a dedicated IP address—just for you, not shared with anyone else.
I’m creating a VPN server on a cloud platform, and there are many options like AWS, DigitalOcean, Google Cloud, etc. However, I personally choose DigitalOcean because it’s easy to use and affordable.
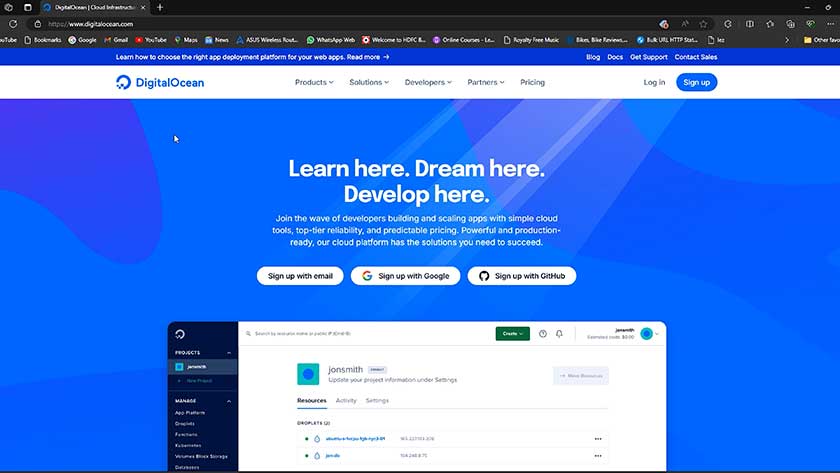
Once you’ve signed up for DigitalOcean, follow these steps to create a Virtual Machine (VM), also known as a Droplet:
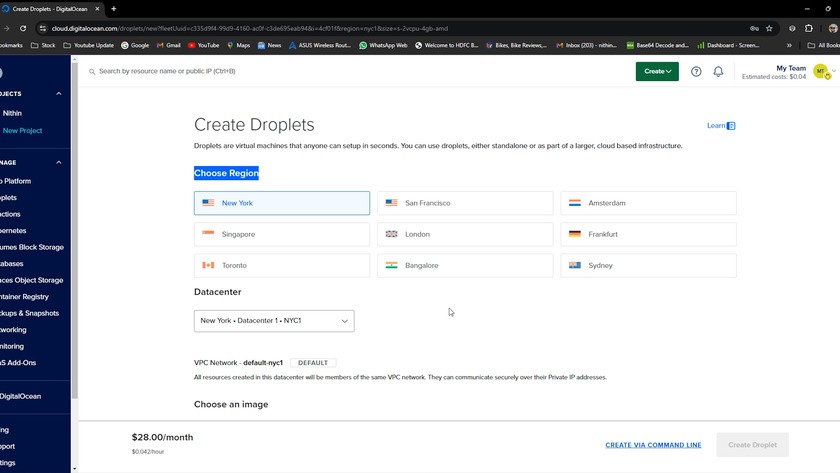
- Choose the Location: Select the data center region where you want to host your VPN server.
- Select the Operating System: Choose Ubuntu or Debian as your operating system. These are stable and widely supported for VPN setup.
- Size Selection: For a Basic VPN server, the Regular SSD option with 1GB RAM and 1 CPU is more than enough to handle personal or small-scale VPN use.
- Choose Authentication Method: Set up how you want to log into your Droplet. You can either:
- Use a Password
- Enter Your Hostname: Give your server a unique hostname. This is just a label to identify your Droplet.
- Create Droplet: Once everything is set up, click on Create Droplet and wait for your server to be ready.
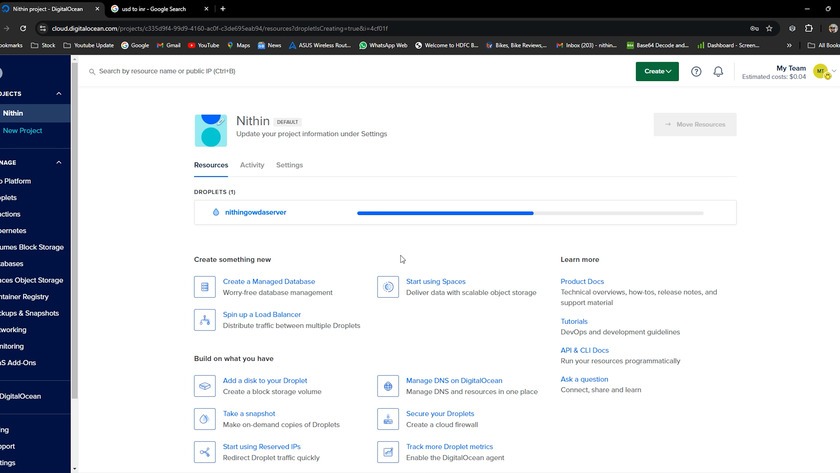
Droplets are billed at $0.009 per hour(0.76rs), which amounts to around $5 per month, depending on your usage. The great thing is, if you don’t need the server all the time, you can close or delete your Droplet, and you’ll only be charged for the hours it was active. Each Droplet comes with 1TB of data transfer, which is usually enough for most users.
Once your Droplet is created, you’re ready to install and configure the VPN software.
Important Reminder: After you’ve finished using your VPN, don’t forget to destroy the Droplet if you no longer need it.Deleting the Droplet when you’re done ensures you won’t be billed unnecessarily. You can always create a new Droplet later when needed, keeping your VPN setup cost-effective!
I’m using PiVPN, which is an easy way to set up a VPN server using WireGuard.
Here’s how to do it:
1. Launch SSH Console:
- On DigitalOcean’s dashboard, click on your Droplet and select the option to launch the SSH console.
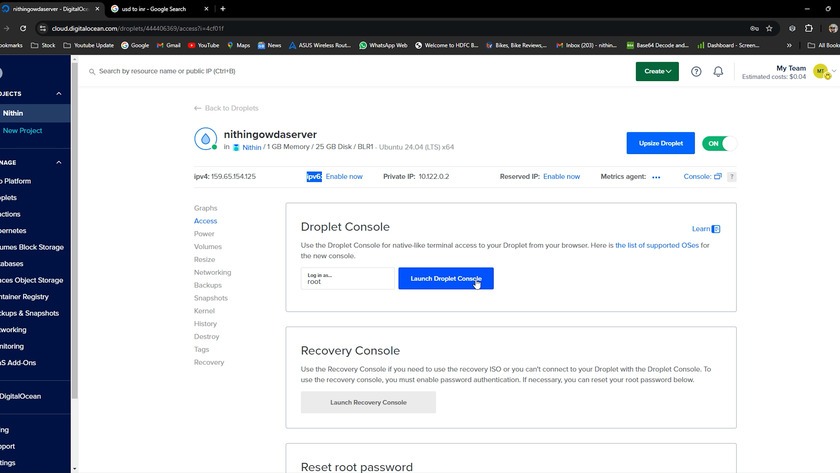
- Alternatively, open a terminal on your computer and connect to your Droplet using its IP address. Use the following command:
ssh root@your_droplet_ipSometimes the console on DigitalOcean’s panel might not work smoothly on mobile devices. In such cases, you can use the Termius app to easily connect to your cloud server from your phone.
Here’s how to set it up:
- Download and Install Termius:
- You can find Termius in the App Store (iOS) or Google Play Store (Android). Download and install it on your device.
- Add Your Cloud Server:
- Open the app, tap on the ‘+’ icon, and select New Host.
- Enter the IP address of your DigitalOcean Droplet.
- Set the username to root (or whatever username you set up) and enter your password.
- Connect to Your Server:
- Once the details are filled in, click on Connect.
- You’ll now have terminal access to your server directly from your mobile device.
2. Update Your Server:
- After connecting, run the following commands to update and upgrade your server
- On DigitalOcean’s dashboard, click on your Droplet and select the option to launch the SSH console.
- Alternatively, open a terminal on your computer and connect to your Droplet using its IP address. Use the following command:
sudo apt update
sudo apt upgrade
3. Install PiVPN:
- Once your server is updated, install PiVPN by running this command:
curl -L https://install.pivpn.io | bash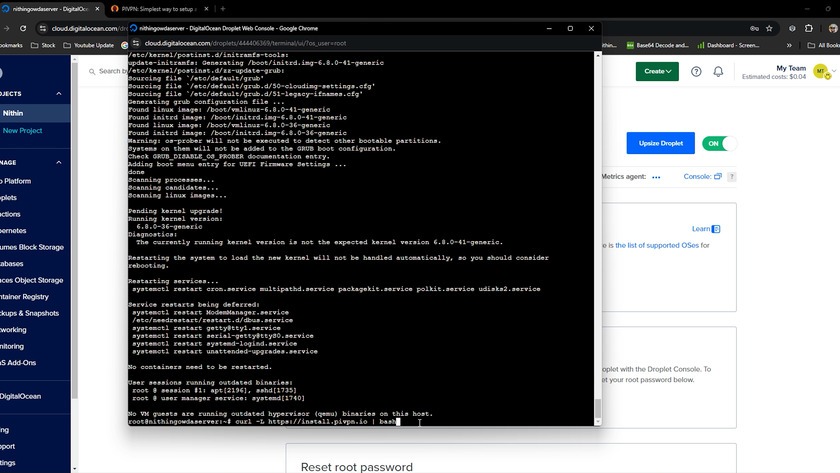
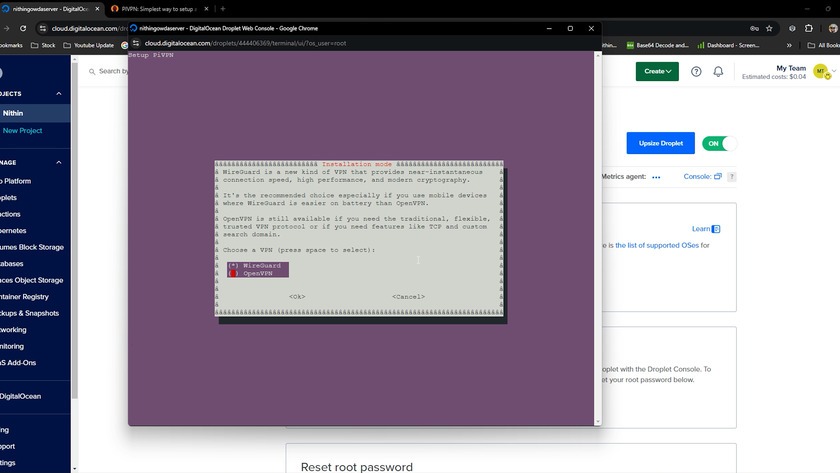
Follow the on-screen prompts to install and configure the VPN server. Select WireGuard as the VPN protocol during the setup process.
4. Add a VPN User:
- After installation is complete, add a user by typing:
pivpn add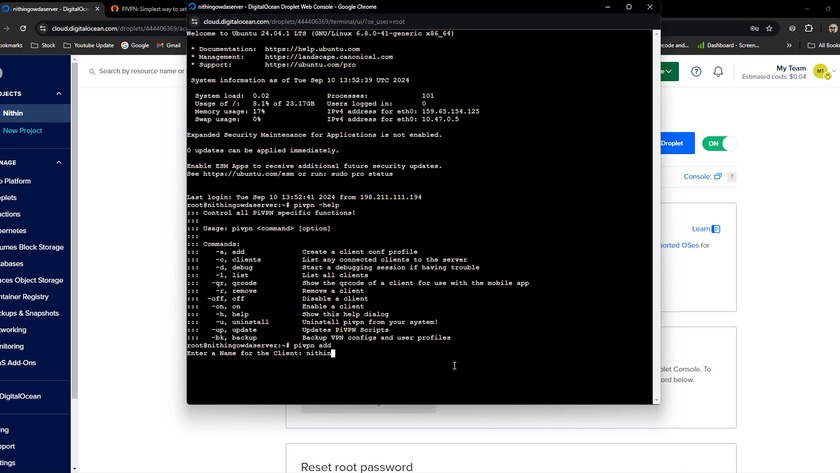
5. Generate QR Code for Easy Setup:
Once the user is created, you can generate a QR code by typing:
pivpn qrcode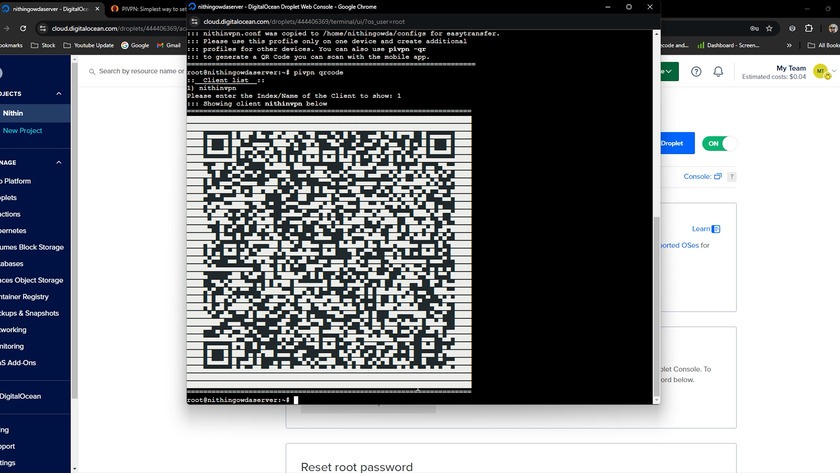
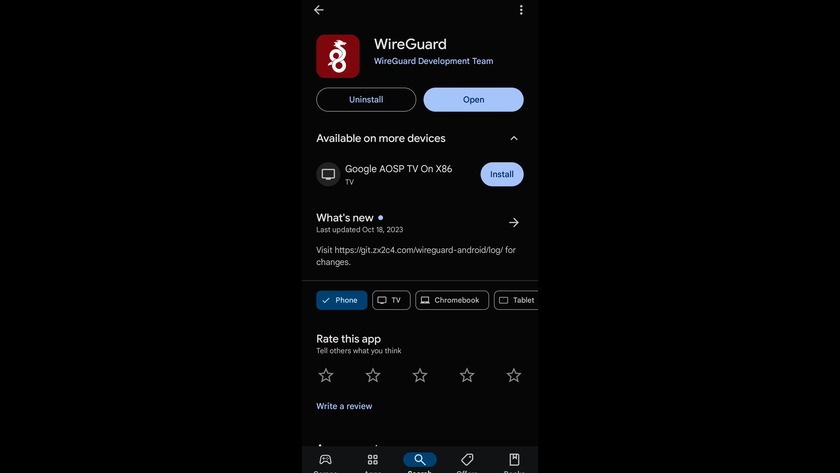
The terminal will display a QR code. Simply scan this QR code using the WireGuard app on your mobile device, and voilà! You’re now connected to your private VPN.
6. Install WireGuard App on Other Devices:
You can install the WireGuard App on your Mobile, PC, laptop, or even your router to secure your connections across multiple devices.
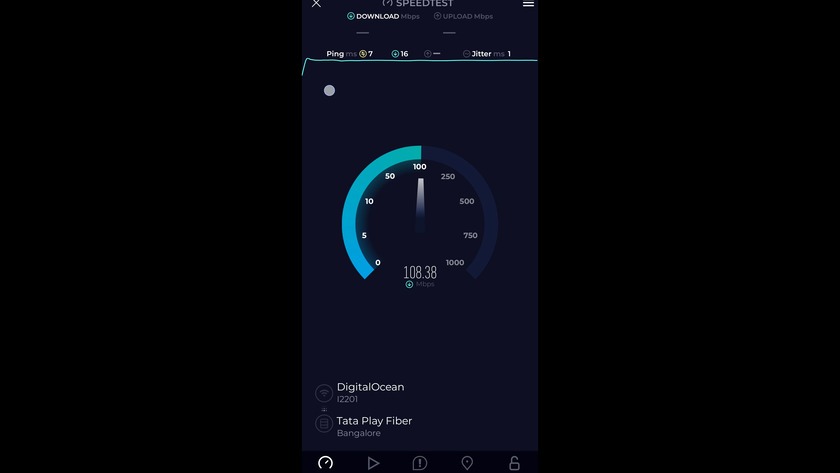
And that’s it,You’ve successfully set up your own VPN server with a dedicated IP address. Now you can enjoy the full benefits of a private and secure internet connection, without sharing your IP with thousands of other users or worrying about blacklisting issues. Whether you’re using it for extra privacy, bypassing geo-restrictions, or keeping your online activities secure, having your own VPN gives you full control.
If you have any questions or need further help, feel free to drop a comment below. Thanks for reading, and happy browsing!
